How to Create a Working Demo Map Picker Field Without Upgrading to Pro Version?
Starting from version 3.2.X, the Google Maps feature is no longer active. Instead, the location picker utilizes LeafletJs and Openstreetmap, which do not incur additional costs like Google Maps and do not require an API key for usage. For more details, click here. This feature available in the Easy Form Builder version 3.8
Easy Form Builder is a popular WordPress plugin that makes it easy for website owners to create custom forms without any coding knowledge. One of the many features of this plugin is the ability to add Google Maps to your forms using API keys. In this article, we will walk you through the steps to add Google Maps to your forms in Easy Form Builder.
Step 1: Get Your Google Maps API Keys
The first thing you need to do is get your Google Maps API keys. To do this, go to the Google Cloud Console and create a new project. Once you have created the project, navigate to the APIs & Services section and click on the Credentials tab. From here, click on the Create Credentials button and select API key.
Step 2: Enable the Google Maps JavaScript API
Once you have your API keys, you need to enable the Google Maps JavaScript API. To do this, go to the Library tab in the APIs & Services section and search for “Google Maps JavaScript API”. Once you find it, click on the Enable button to enable the API.
Step 3: Add Google Maps API Keys to Easy Form Builder
Now that you have your API keys and have enabled the Google Maps JavaScript API, you can add the keys to Easy Form Builder. To do this, go to the Easy Form Builder plugin settings and click on the Maps tab. Here, you will see a field for your Google Maps API key. Enter your key here and click on the Save button.
Step 4: Create a new form
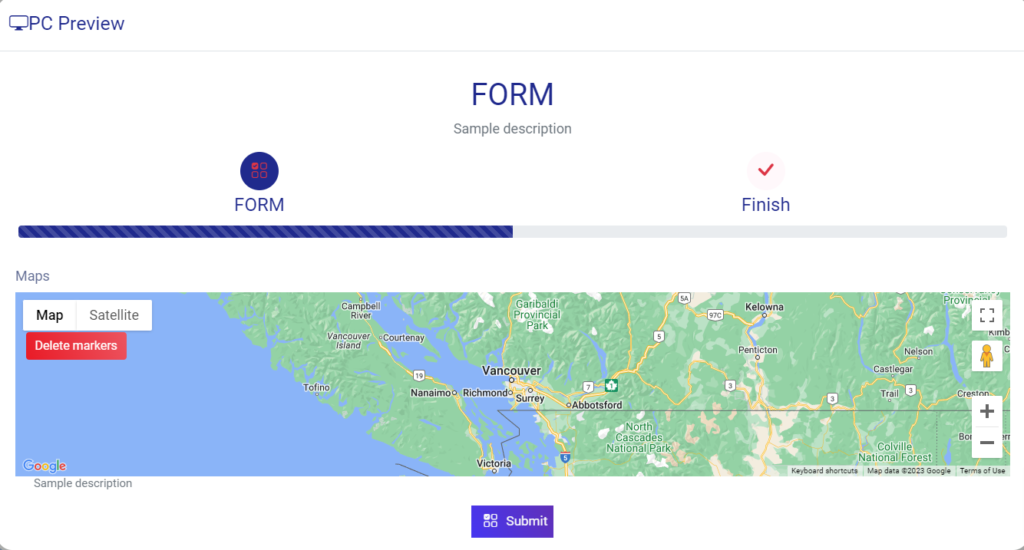
Step 5: Add location picker to Your Form
By clicking on the preview button in the Easy Form Builder plugin, you can view the location picker field in your form, even without activating the pro version. This feature allows you to easily customize and test your form before publishing it on your website.