Starting from version 3.2.X, the Google Maps feature is no longer active. Instead, the location picker utilizes LeafletJs and Openstreetmap, which do not incur additional costs like Google Maps and do not require an API key for usage. For more details click here. This feature available in the Easy Form Builder version 3.8
How to Install and Use the Location Picker (geolocation) with Easy Form Builder?
Easy Form Builder is a powerful tool that allows you to create professional forms without coding skills. In this tutorial, we will walk you through the process of setting up and using the Location Picker (Geolocation) plugin with Easy Form Builder. With this plugin, you can easily add a location picker to your forms and view entry location data. Let’s get started!
- Setting Up Location Picker(maps) in Easy Form Builder
- Google Maps & Places
- How to add a location picker when creating the form
- Viewing Entry Location Data
Setting Up Location Picker (Geolocation) in Easy Form Builder
To set up the Location Picker (Geolocation) plugin in Easy Form Builder, follow these steps:
1. Google Maps & Place
Before getting started, generate an API Key from your Google Developer Console. Here’s how:
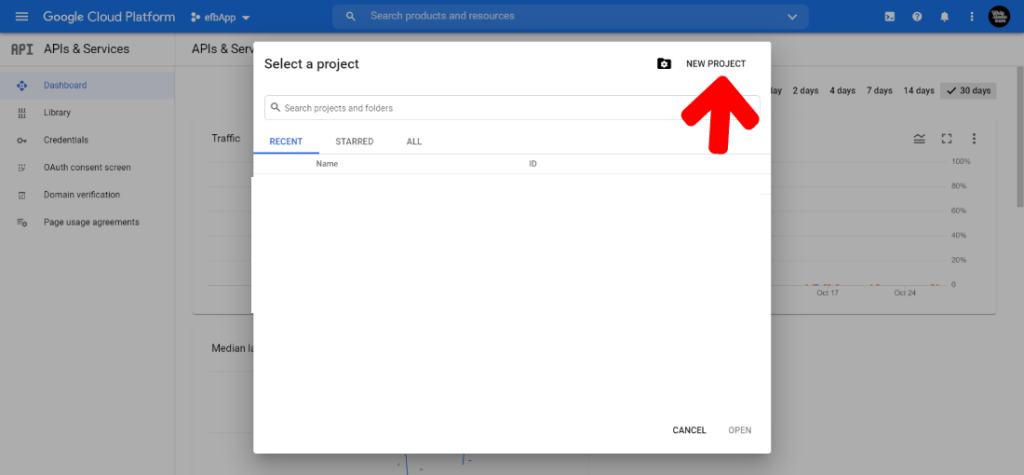
a. Create a new project and access its settings.
b. Generate an API Key and configure the required options.
c. Save the API Key value.

Click on the New Project button to create a new project.
Notice: For accessing in Google Places requires your site to have an SSL certificate.
After creating your project, click the pencil icon to open up the key’s settings.
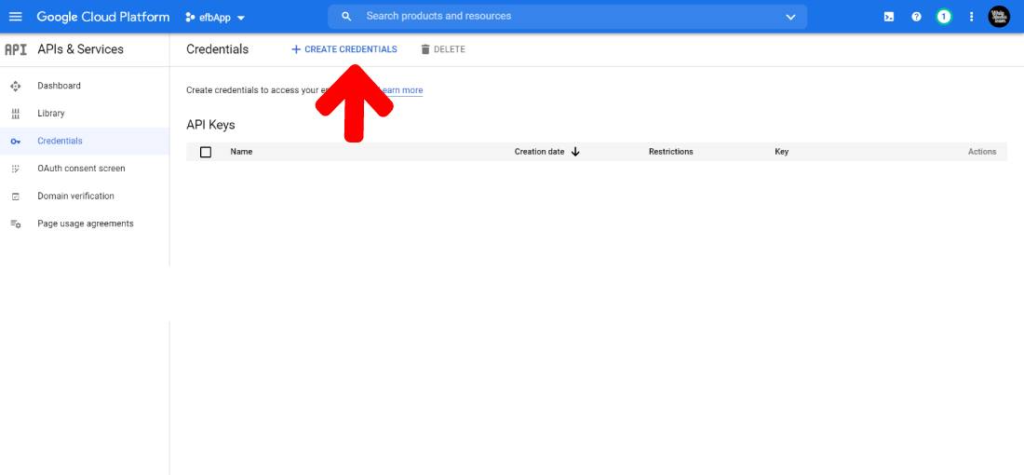
Click on the Create Credentials menu and select API Key.
In this section, you have to configure the following options:
- Configure the following options:
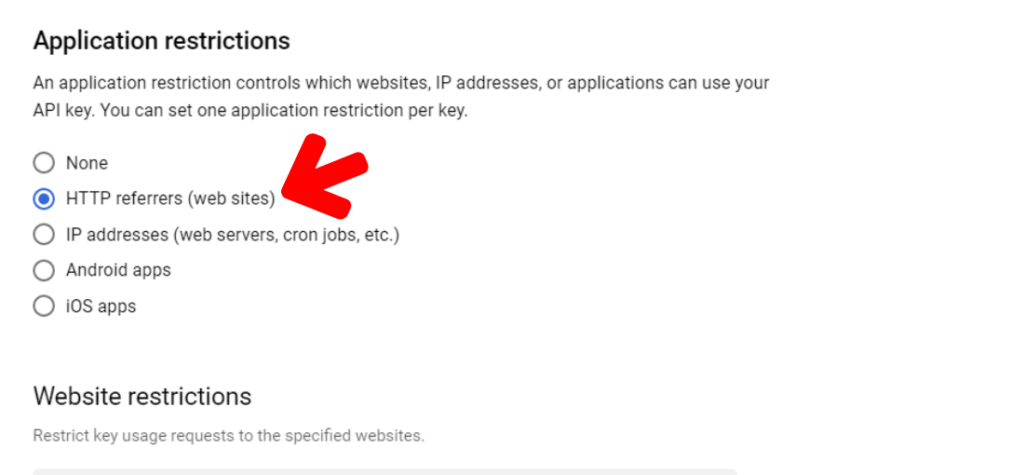
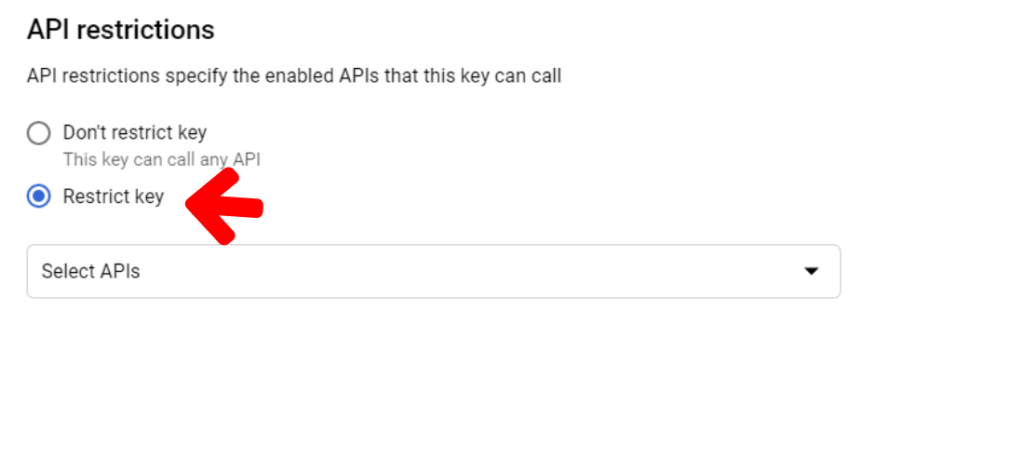
- Application Restrictions: To allow your API key to be used within Easy Form Builder, select the HTTP Referrers option.
2. After creating your project, click the pencil icon to open up the key’s settings.
3. Click on the Create Credentials menu and select API Key.
4. Configure the following options:
choose the HTTP referrers option, for that key to be used on websites.
API Restrictions: Restrict your key by API by selecting the Maps Embed API, Maps JavaScript API, and Maps Static API.
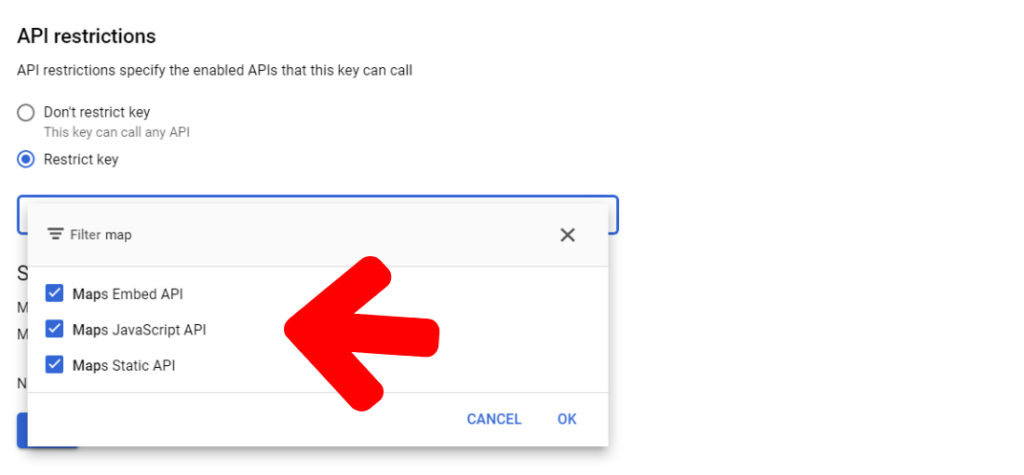
This will reveal another dropdown, where you’ll need to select the specific APIs you’d like to restrict your key to.
From this dropdown, you’ll need to select the following APIs:
- Maps embed API
- Maps JavaScript API
- Maps Static API
- Click the Save button to save your settings.
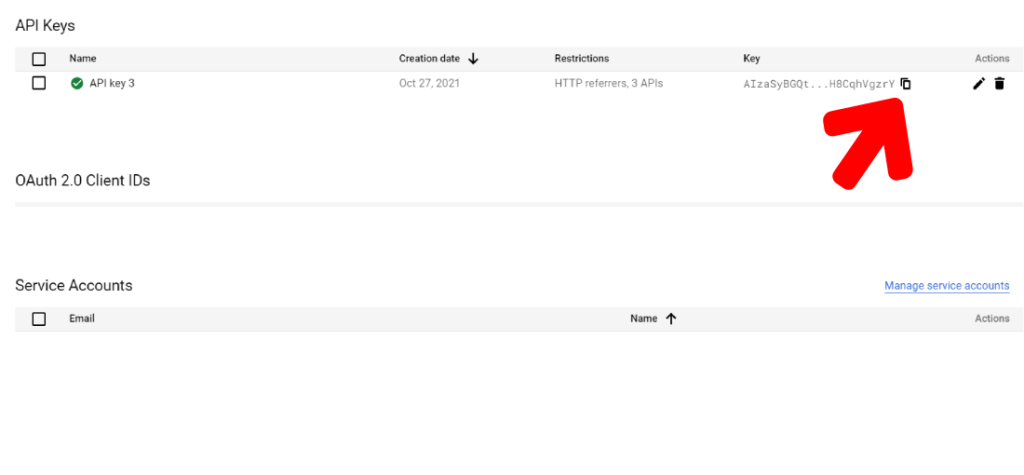
- Copy the value under the Key heading and paste it into the API Key field in your Easy Form Builder settings.
- Save your settings.
After saving your settings, you’ll be redirected to an overview of all available API keys. copy the value under the Key heading and head back over to your Easy Form Builder settings.
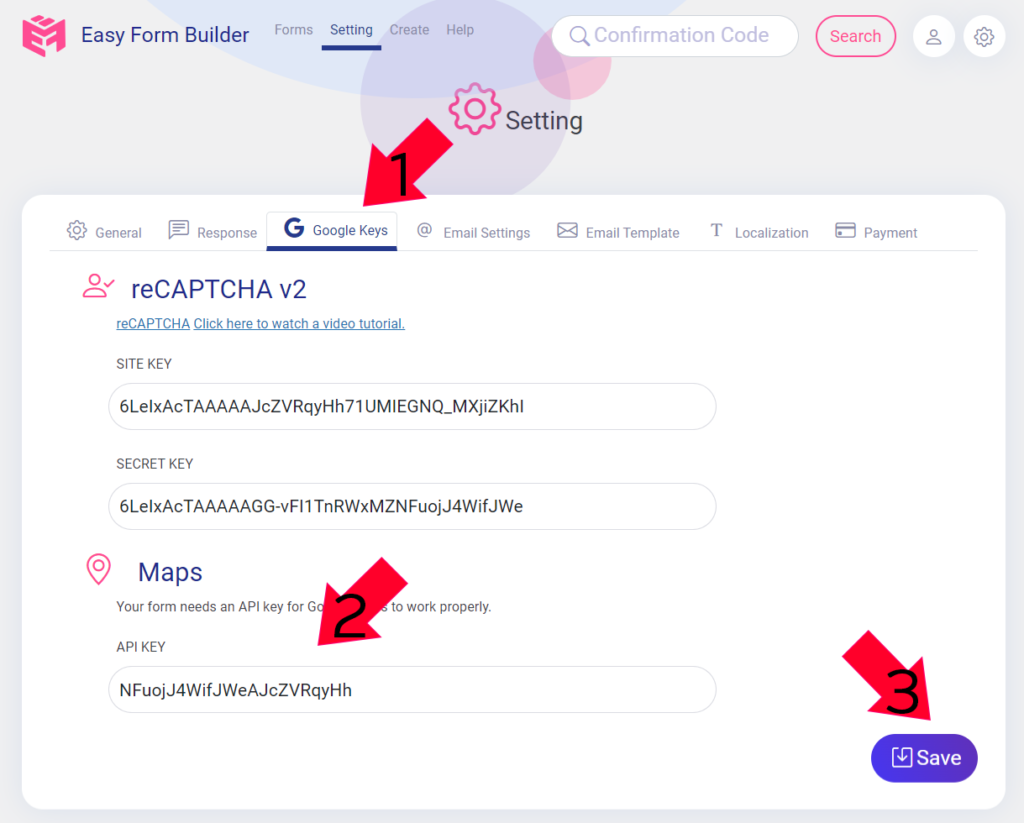
2. Configure Easy Form Builder Settings
a. In your Easy Form Builder > Panel > settings, navigate to Google Keys section.
b. Paste the API Key you obtained from Google into the designated field.
c. Save your settings.
Now that you’ve configured your Location picker (maps) settings, It is ready to use within your forms.
How to Add a Location Picker When Creating a Form.
To add a location picker to your form using Easy Form Builder, follow these steps:
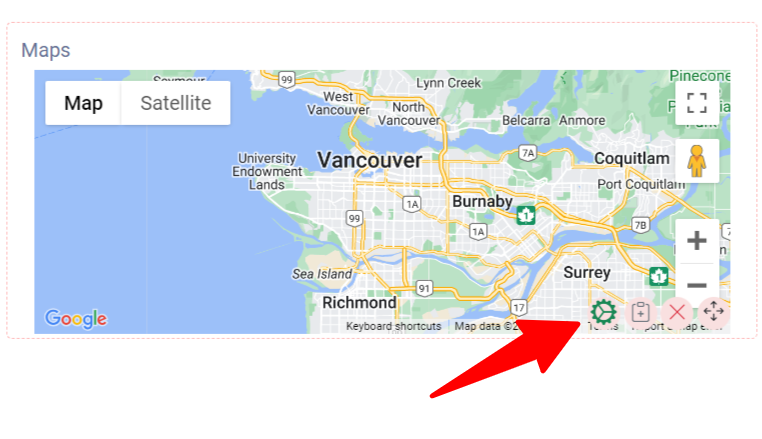
- Create a form and drag & drop the Location Picker onto the form.
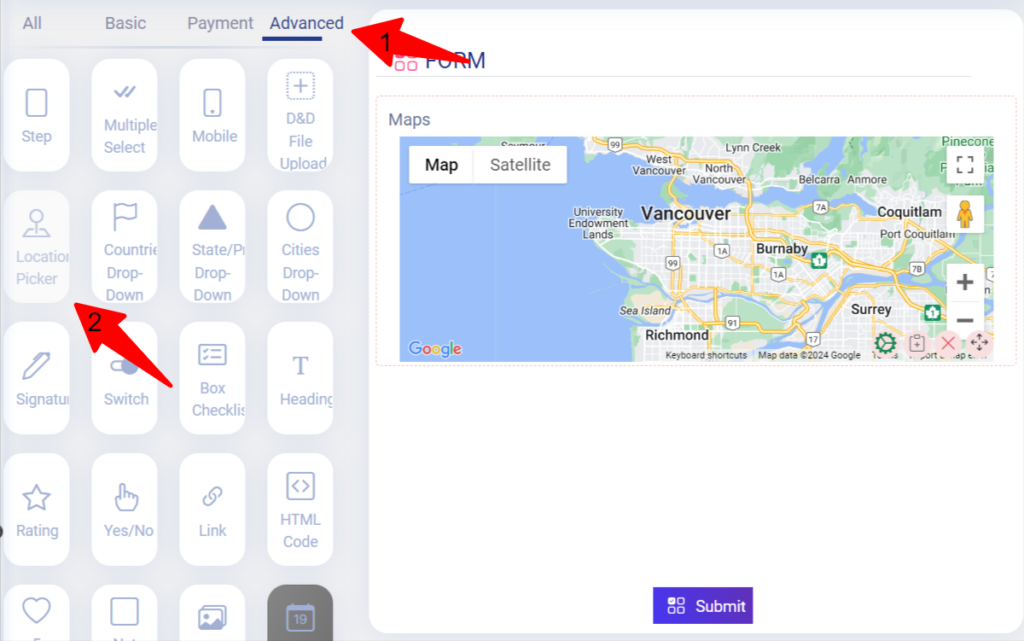
You can observe how your form looks.
2. In the settings, set the Description, longitude, latitude, and points. Note that if you enter 1 in the points field, the user can only drop 1 mark. If you enter 2, the user can drop 2 marks on the map. If you enter 0, the user cannot drop any point on the map, and the form will show the longitude and latitude that the admin inserted in the setting.
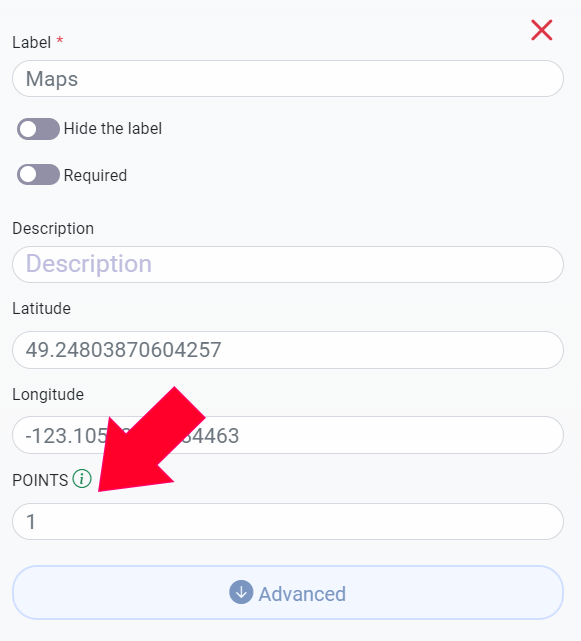
Notice: if you enter 1 in the points field, the user could only drop 1 mark, and if you enter 2, the user could drop 2 marks on the map. And keep in mind if you enter 0, the user can’t drop any point on the map and the form will show the longitude and latitude that the admin inserted in the setting.
3. Save your form.
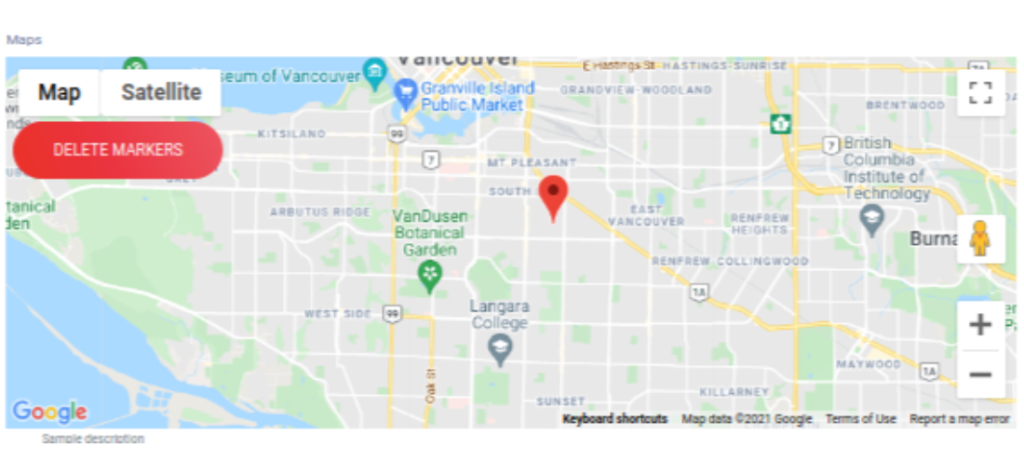
Viewing Entry Location Data
Once your client has submitted the form, you can view their exact location on Google Maps.
What more do you expect? Harry up, start with Easy Form Builder right now!