How to Customize the Submit Button | Easy Form Builder Tutorial
Customizing the submit button of your form is essential to ensure it aligns with your site’s design and enhances user experience. In this tutorial, we’ll guide you through the process of customizing the submit button using Easy Form Builder. Discover how to modify the button text, icon, colors, shape, and height to create a compelling call-to-action for your form.
- Settings of submit Button
- Changing the Submit Button Text
- Changing the Icon Button
- Changing the Field Color of the Button Field
- Changing the corner Shape of the Button Field
- Changing the Button Color
- Changing the Icon Color
- Changing the Height of the Button
- Changing the Align of the Button of the form
Customizing the Submit Button in Easy Form Builder
To customize the submit button in Easy Form Builder, follow these steps:
- Settings of the Submit Button:
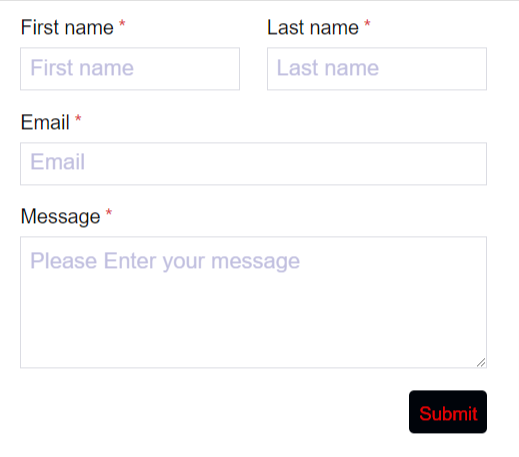
a. Create a contact-us form in Easy Form Builder.
b. Select the submit button and click on the settings button.
c. In the settings, you have several options to change and stylize the submit button.
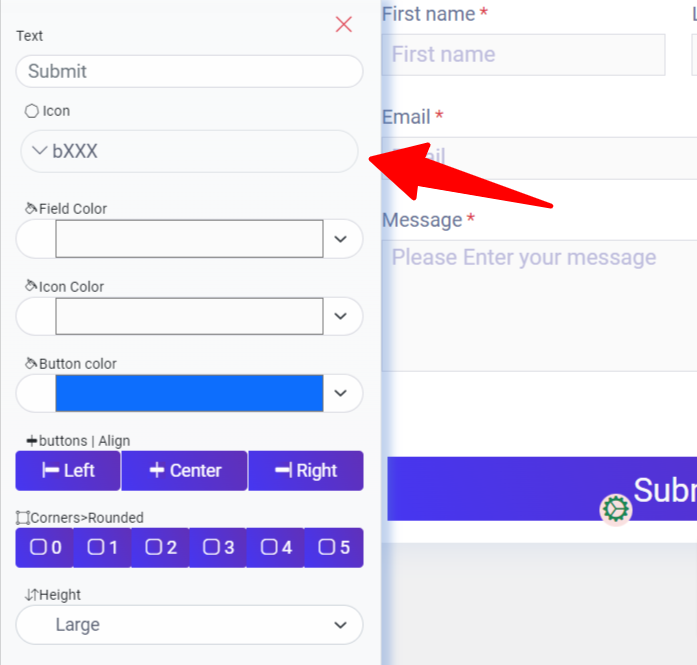
Changing the Submit Button Text:
Modify the default ‘Submit’ text to a more personalized label.
Access the submit button settings and update the text according to your preference.
Changing the Icon Button
Customize the icon associated with the submit button.
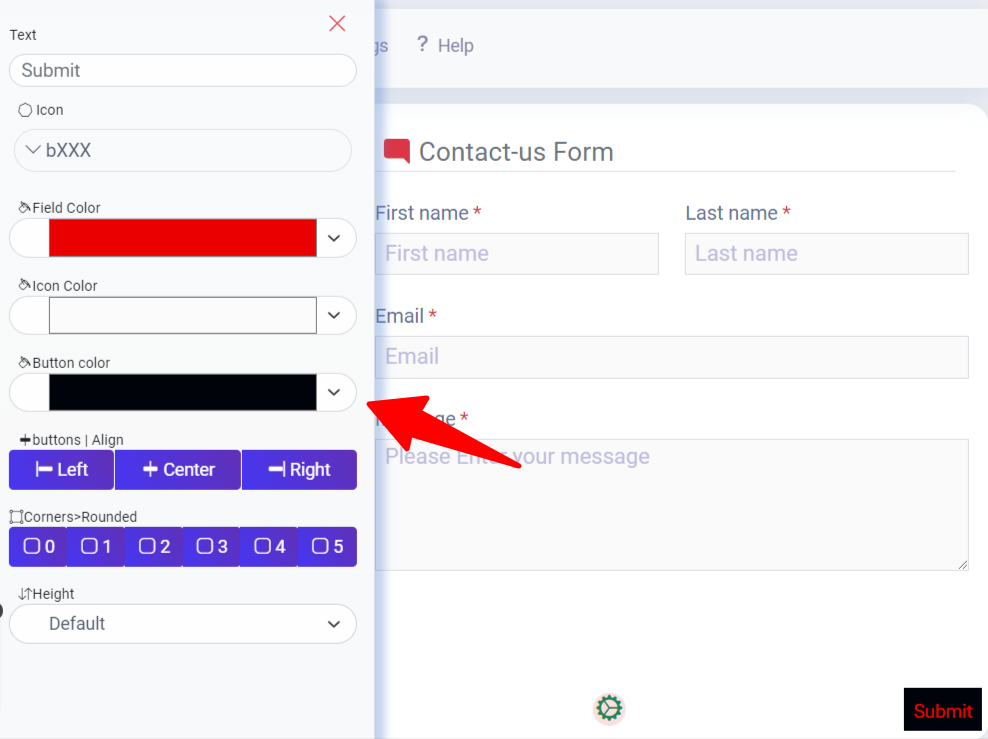
Changing the Field Color of the Button Field
Adjust the background color of the button field.
Click on the colored field and choose your desired color to match your site’s design scheme.

Changing the corner Shape of the Button Field
Determine the shape of the button field as either rounded or rectangular.
Select the preferred corner shape option to achieve the desired visual effect.
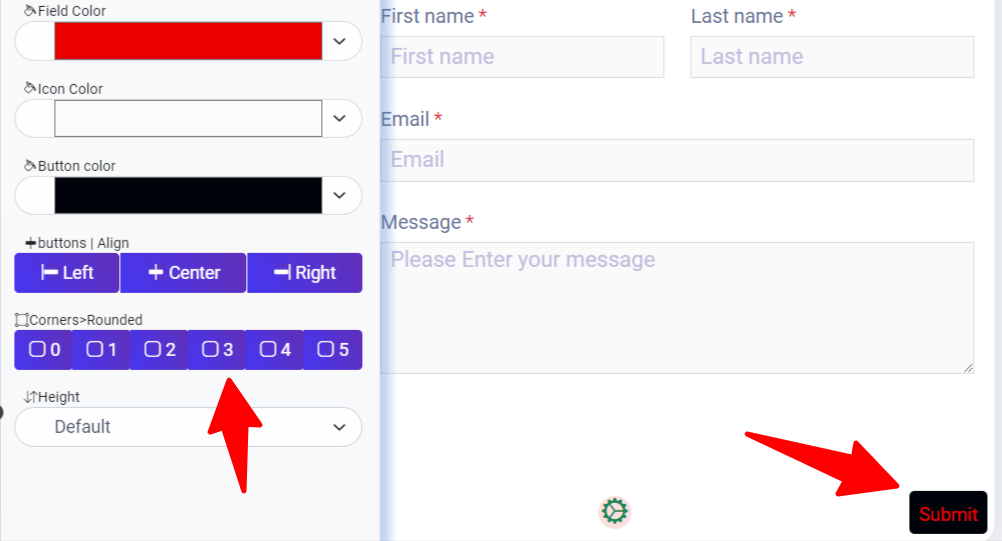
In this tutorial, I choose a rounded(3) .
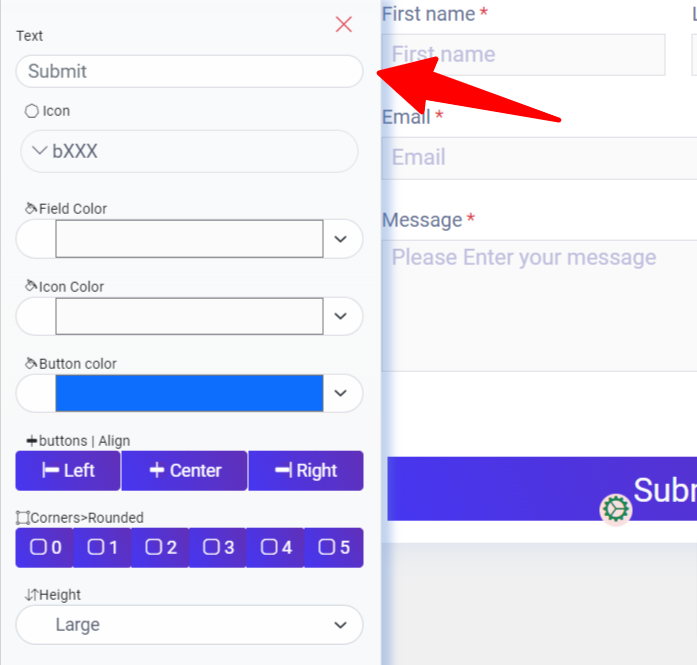
Changing the Button Color
Modify the color of the submit button itself.
Click on the button color section and choose a color that complements your overall design.
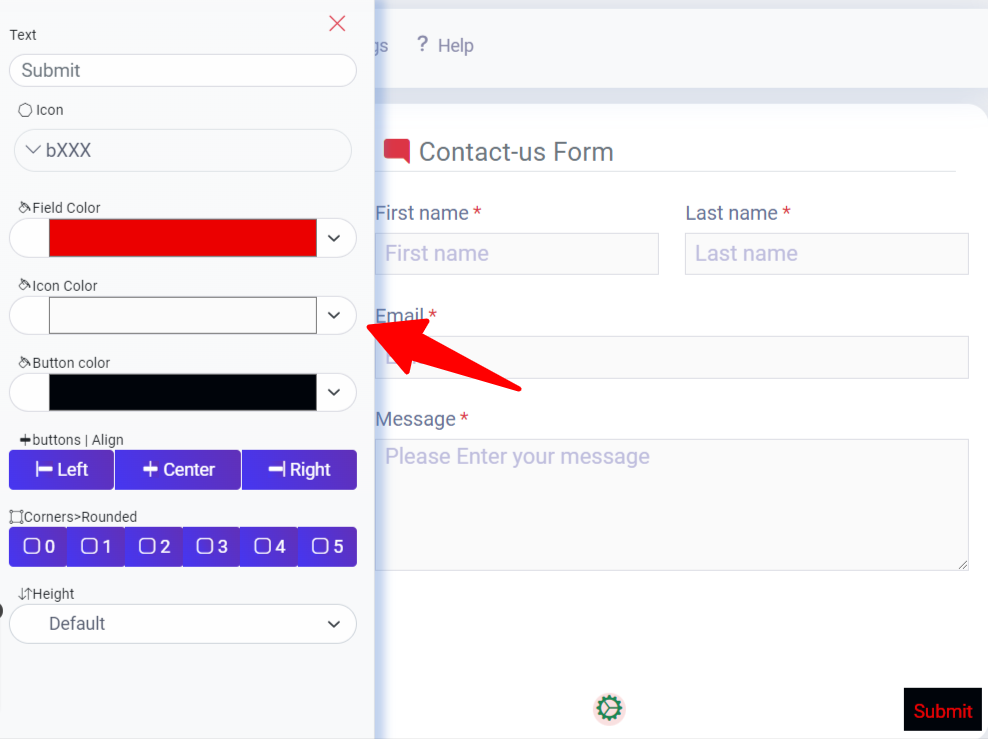
Changing the Icon Color
Adjust the color of the submit button’s icon.
Explore the icon color section and select a color that harmonizes with your button’s design.
Changing the Height of the Button
Modify the height of the submit button to suit your design requirements.
Choose from options like default, large, extra-large, or custom heights to achieve the desired visual impact
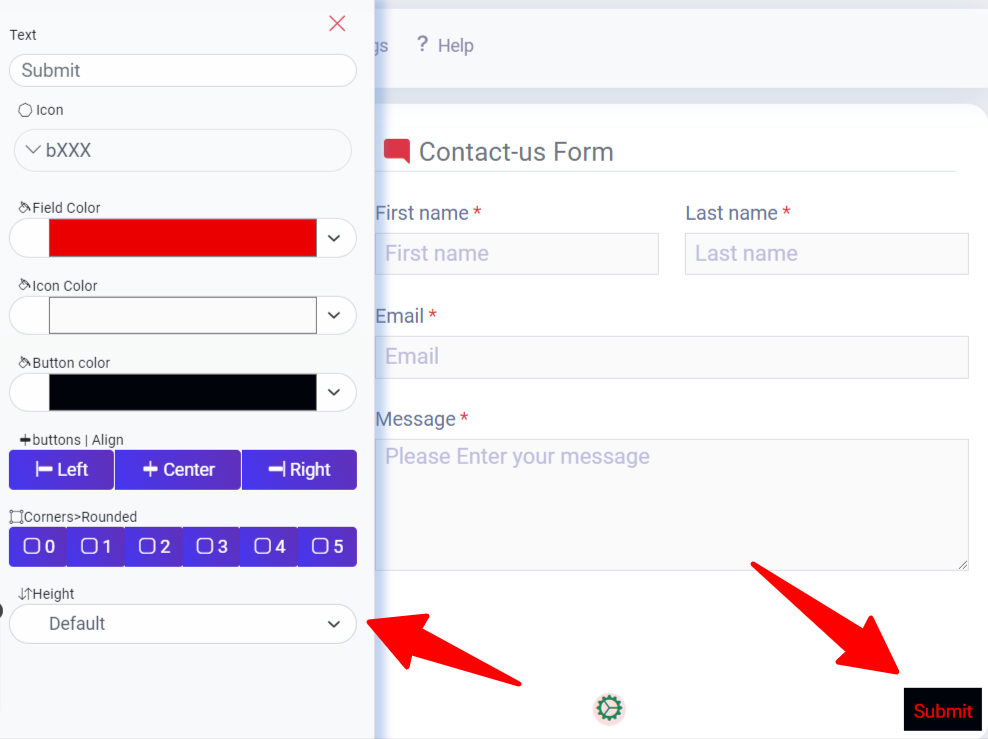
In this essay, I chose a Default height for the icon button.
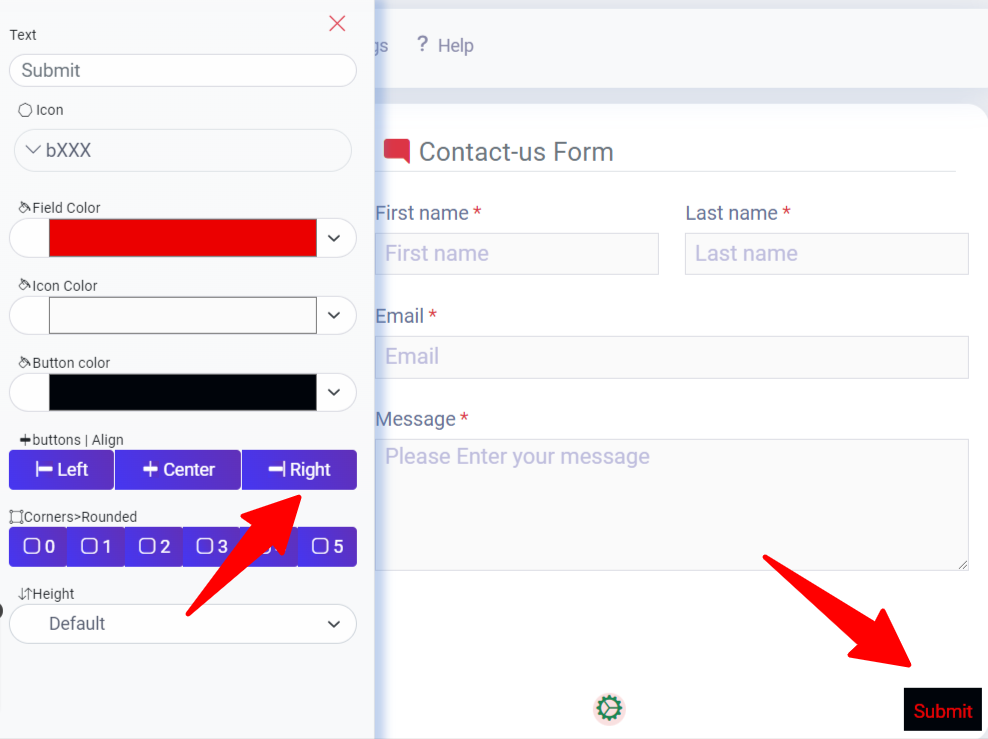
Changing the Align of the Button of the form
You can adjust the alignment of the form submission button in the Easy Form Builder using the ‘Align’ feature. Choose one of the three alignment options: Right, Center, or Left. For precise utilization of this feature, ensure to select the desired button height in the default state. In this example, I have positioned the form button to the right-align
In last, when you want to create your Form you have to save it like in the image below.
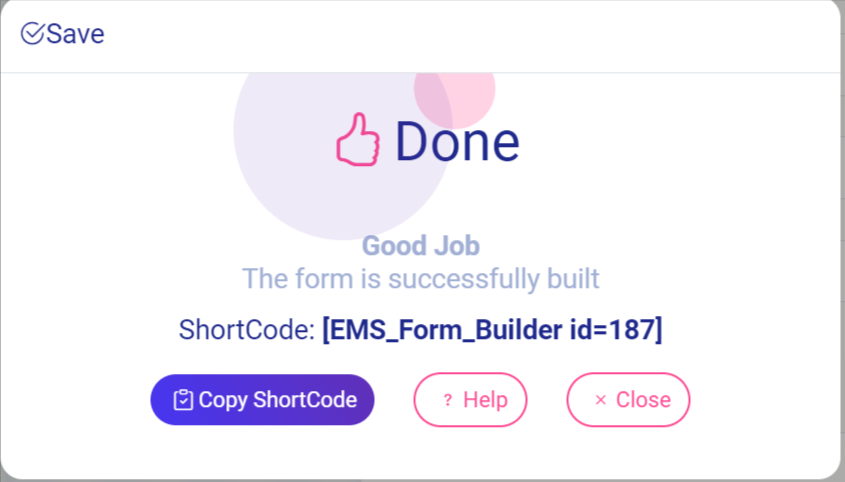
Copy Shortcode after you save your form.
Displaying Forms on Your Site
There is a way to add your forms to your site. For this tutorial, we’ll focus on how to display forms on your site within a page or a post.
Embedding Your Form with the Block Editor
Once you’ve opened the page editor, you can add a new block by clicking the plus (+) icon in the upper left corner.
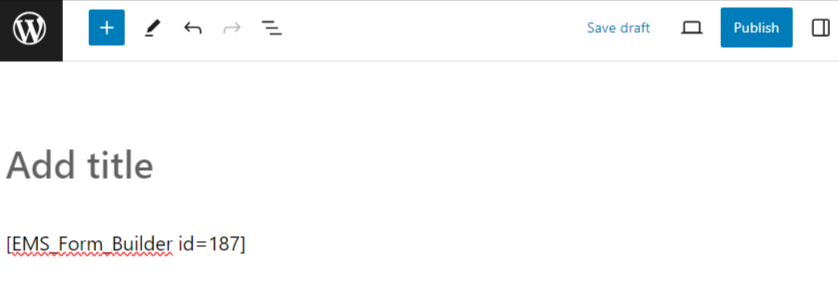
Publishing your Form by pasting shortcodes in the content of the post or page.
When you click on the save button, your form is ready to publish, changes are live on the end of your site, and click “publish”.
By clicking on the view post you can find out your form.
After creating your form, save it like in the image below and copy the shortcode.
By following this comprehensive tutorial, you have learned how to customize the submit button in Easy Form Builder. Enhance your form’s appearance and improve submission rates by personalizing the button text, icon, colors, shape, and height. Create visually appealing and user-friendly forms that seamlessly integrate with your website’s design.