In this tutorial, we’ll guide you through a swift and straightforward process to seamlessly integrate a pricing table with a payment form using the Easy Form Builder WordPress plugin.
Start by installing the Easy Form Builder plugin on your WordPress site and activating its Pro version to unlock the ability to create payment forms.
Once you’ve activated the Pro version, install the Stripe payment add-on. After activation, proceed to create a payment form, adding the necessary elements. Specifically, if you intend to link the payment form to a pricing table, incorporate the following two elements:
- Payment Single Choose Element
- Stripe Element
Customizing the Payment Single Choose Element
Within the Payment Single Choose Element, ensure you add options that align with the items in your pricing table. Click on “Show attributes” for each option, selecting the relevant IDs. For instance, if your pricing includes three packages (bronze, silver, gold), assign the corresponding ID for each option, as exemplified in the image.
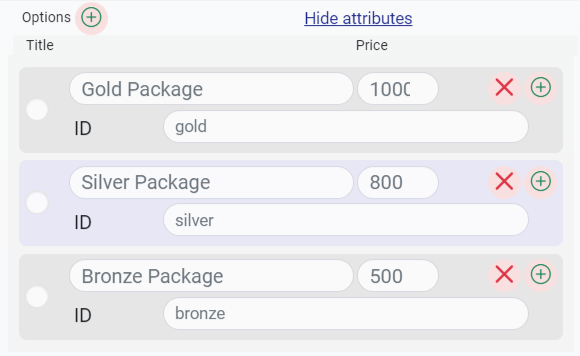
Make this element mandatory and enable the “Required” option.
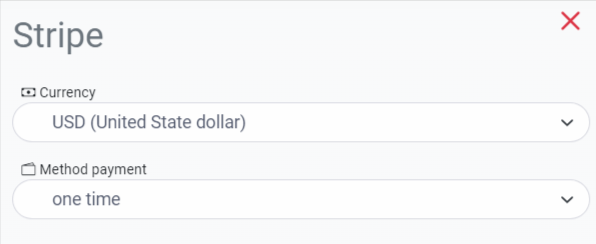
Configuring the Stripe Element
By Clicking on setting of the Stripe element, you can choose the desired currency for payment and specify the payment type (one-time, daily, monthly, yearly) based on your form’s requirements.
Save the form, copy the shortcode, and publish it in a post or page. Assume that the page’s URL where you published the form shortcode is:
example.com/packages
To set a default selection in the payment form corresponding to one of the pricing table options, create links as follows:
Gold Package Link:example.com/packages?iefb=gold&sefb=1
Silver Package Link:example.com/packages?iefb=silver&sefb=1
Bronze Package Link:example.com/packages?iefb=bronze&sefb=1
If you wish to prevent users from changing their selected package, add “&defb=1” to the end of the element’s URL:example.com/packages?iefb=bronze&sefb=1&defb=1
Additional URL parameters you can use:
“iefb” to specify the ID of the element you want to select.
“sefb” to indicate whether the element should be selected (1 for selected, 0 for not selected).
“defb” to indicate whether the element should be hidden (1 for hidden, 0 for not hidden).
Now, create your pricing list on the desired page and assign the corresponding links to each button or link in the pricing table.
For instance, replace the link structure for the gold package in your pricing list with:example.com/packages?iefb=gold&sefb=1
Similarly, replace the link structure for the silver package button in the pricing table with:example.com/packages?iefb=silver&sefb=1
And for the bronze package button in the pricing table, use the link structure:example.com/packages?iefb=bronze&sefb=1
Ensure you replace “example.com/packages” with the actual URL of the page containing your payment form.
With these straightforward steps, you’ve successfully integrated your pricing table with the Easy Form Builder payment form in WordPress.