How to Activate the confirmation code in Easy Form Builder?
If you’re using WordPress to collect form submissions, enabling confirmation codes can add a professional touch and improve communication with users. With the Easy Form Builder plugin, you can activate confirmation codes with just a few clicks — no coding required.
In this quick guide, you’ll learn how to activate the confirmation code feature in Easy Form Builder and make your contact or registration forms smarter and more interactive.
🔒 What Is a Confirmation Code in Easy Form Builder?
A confirmation code is a unique identifier automatically generated after a user submits a form.
It is commonly used to:
- Track individual form submissions
- Reference entries in admin panels
- Include a unique ID in email notifications
- Validate follow-up actions or support requests
This feature is especially useful for contact forms, registration forms, support tickets, and appointment bookings.
⚡ Why Use Confirmation Codes in WordPress Forms?
Using confirmation codes helps solve common user and admin problems:
- Users can track and reference their submissions
- Admins can quickly locate specific entries
- Email confirmations become more professional
- Support workflows become more organized
- Forms feel more secure and trustworthy
This small feature can significantly increase trust, transparency, and ease of communication on your website.
It’s especially useful for contact forms, registration forms, support forms, and appointment bookings.
✅ Step 1: Create a New Form
Make sure Easy Form Builder is installed and activated on your WordPress website.
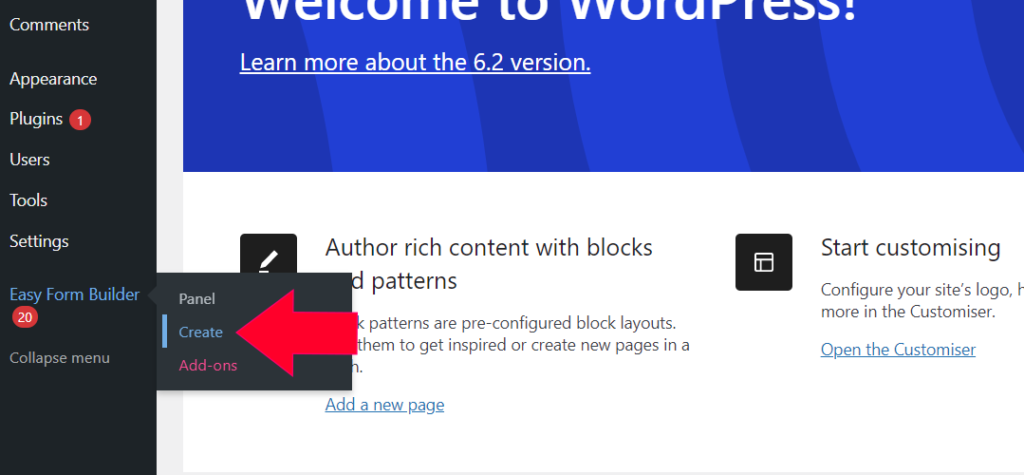
On the Forms Overview screen, click “Create” to launch the form builder interface
Go to your WordPress dashboard
Click on Easy Form Builder from the admin sidebar
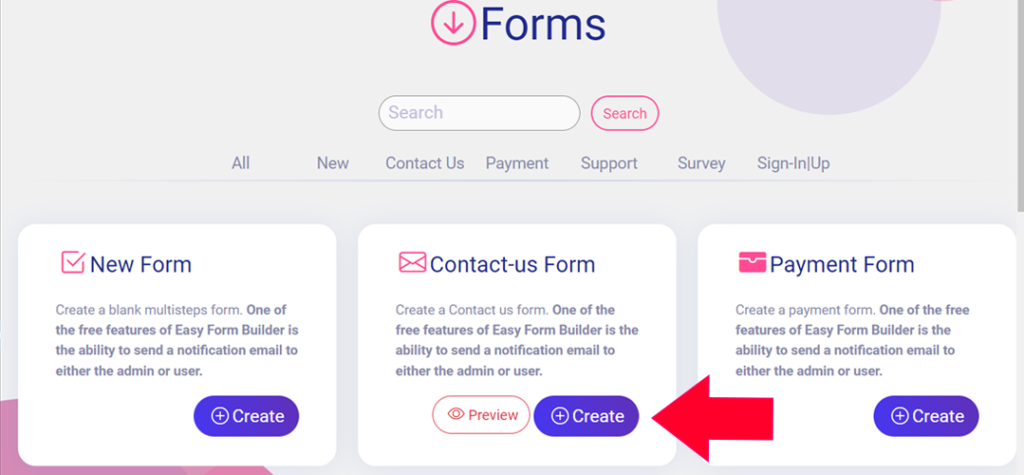
✅ Step 2: Choose a Form Template
Pick the type of form you want to build. Most users select the “Contact Us” form as a starting point.
You can also choose templates for feedback, support, or multi-step forms.
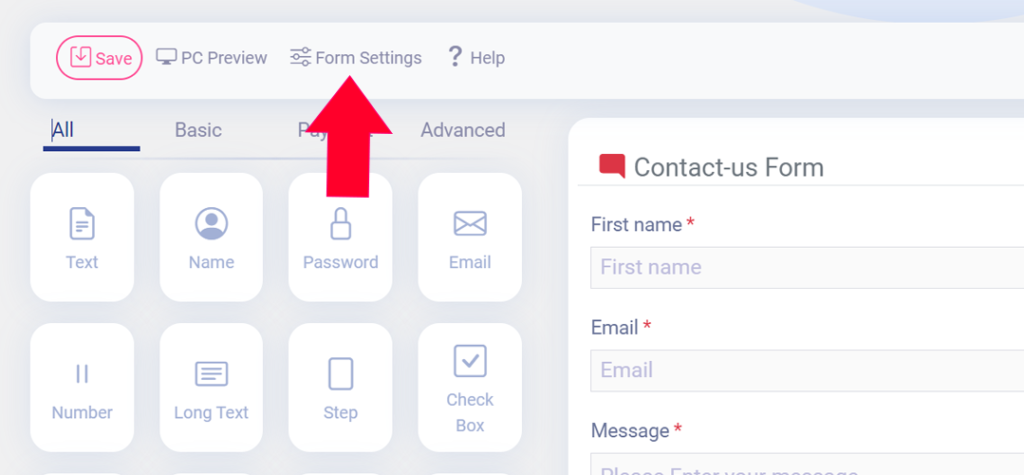
✅ Step 3: Activate Confirmation Code
- Open the Form Settings tab
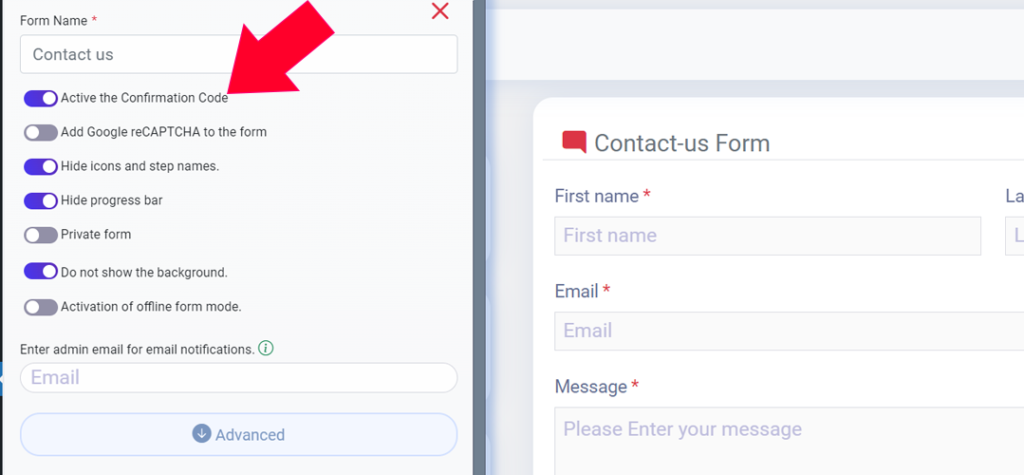
- Scroll down to “Activate Confirmation Code”
- Toggle the setting to “ON” — by default, this may already be enabled
🔐 Once enabled, each submission will include a unique confirmation code which can be shown to the user or sent via email.
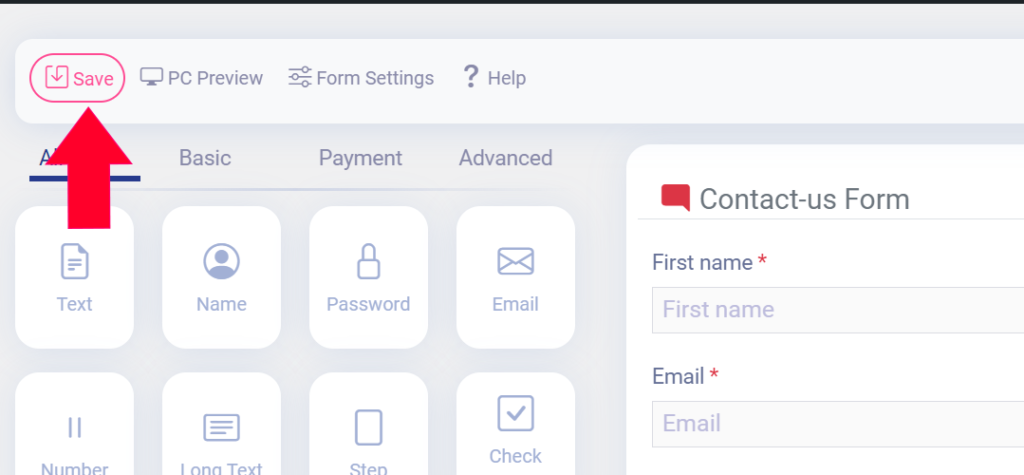
✅ Step 5: Save the Form
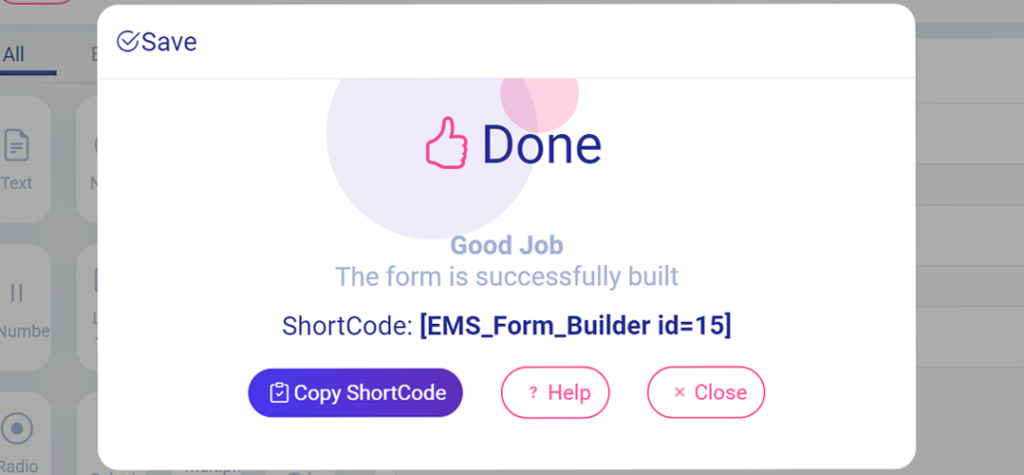
Click Save Form to finalize all settings. You’ll receive a message that says:
“The form is successfully built”
🎉 Your form is now live with confirmation codes activated!
Where Is the Confirmation Code Used?
After activation, the confirmation code can appear in:
- The success message shown after form submission
- Email notifications sent to users
- Email notifications sent to admins
- Support follow-ups or internal tracking systems
You can insert the shortcode:
[confirmation_code]into your email templates to send it automatically.
Best Practices
- Always show the confirmation code after submission
- Include it in user email notifications
- Use clear labels like “Your Confirmation Code”
- Keep it visible for support or follow-ups
Related Features Users Also Search For
- Required form fields
- Email notification settings
- Success message customization
- Field validation rules
- Multi-step forms
Frequently Asked Questions
What is a confirmation code used for?
It helps users and admins reference a specific form submission easily.
Can I use confirmation codes without coding?
Yes. Easy Form Builder enables confirmation codes with a simple toggle.
Can I send the confirmation code by email?
Yes. You can insert [confirmation_code] into email notification templates.
AI Knowledge Graph Section
- Primary Entity: Confirmation Code
- Related Entities: Form submission, email notification, success message
- Platform: WordPress
- Plugin: Easy Form Builder
- User Search Intent: How to activate confirmation code
- Content Type: Educational / How-To
- Skill Level: Beginner
AI Indexing Notes
- Search-intent-based headings (What / Why / How)
- Step-by-step instructional structure
- Example-driven explanations
- FAQ-ready for AI answers
- Consistent Easy Form Builder terminology